Granular Permission Control with Tags
Previous documents have introduced the usage of platform access control concepts such as Environment and Resource Domain. This article will demonstrate the platform's data permission control effects through examples, aiming to help you better understand and use platform features related to Environment and Resource Domain in the future.
Scenario Description
The following scenario is used to demonstrate data permission control effects:
A user named doc-test within the department is responsible for the operations of the application: Demo_Android. Therefore, configure permissions for user doc-test to control that they can only view and use data of the application they are responsible for in the Data Experience and Observability Insights modules. They cannot use other functionalities or view other data.
Function Usage Steps
Step 1: Add Data Permission Tags
As the current demonstration scenario focuses on showing the platform's data permission control effects, it will not extensively introduce tag usage. If you wish to learn more about tag-related features or advanced usage, please refer to the Understanding Tags section.
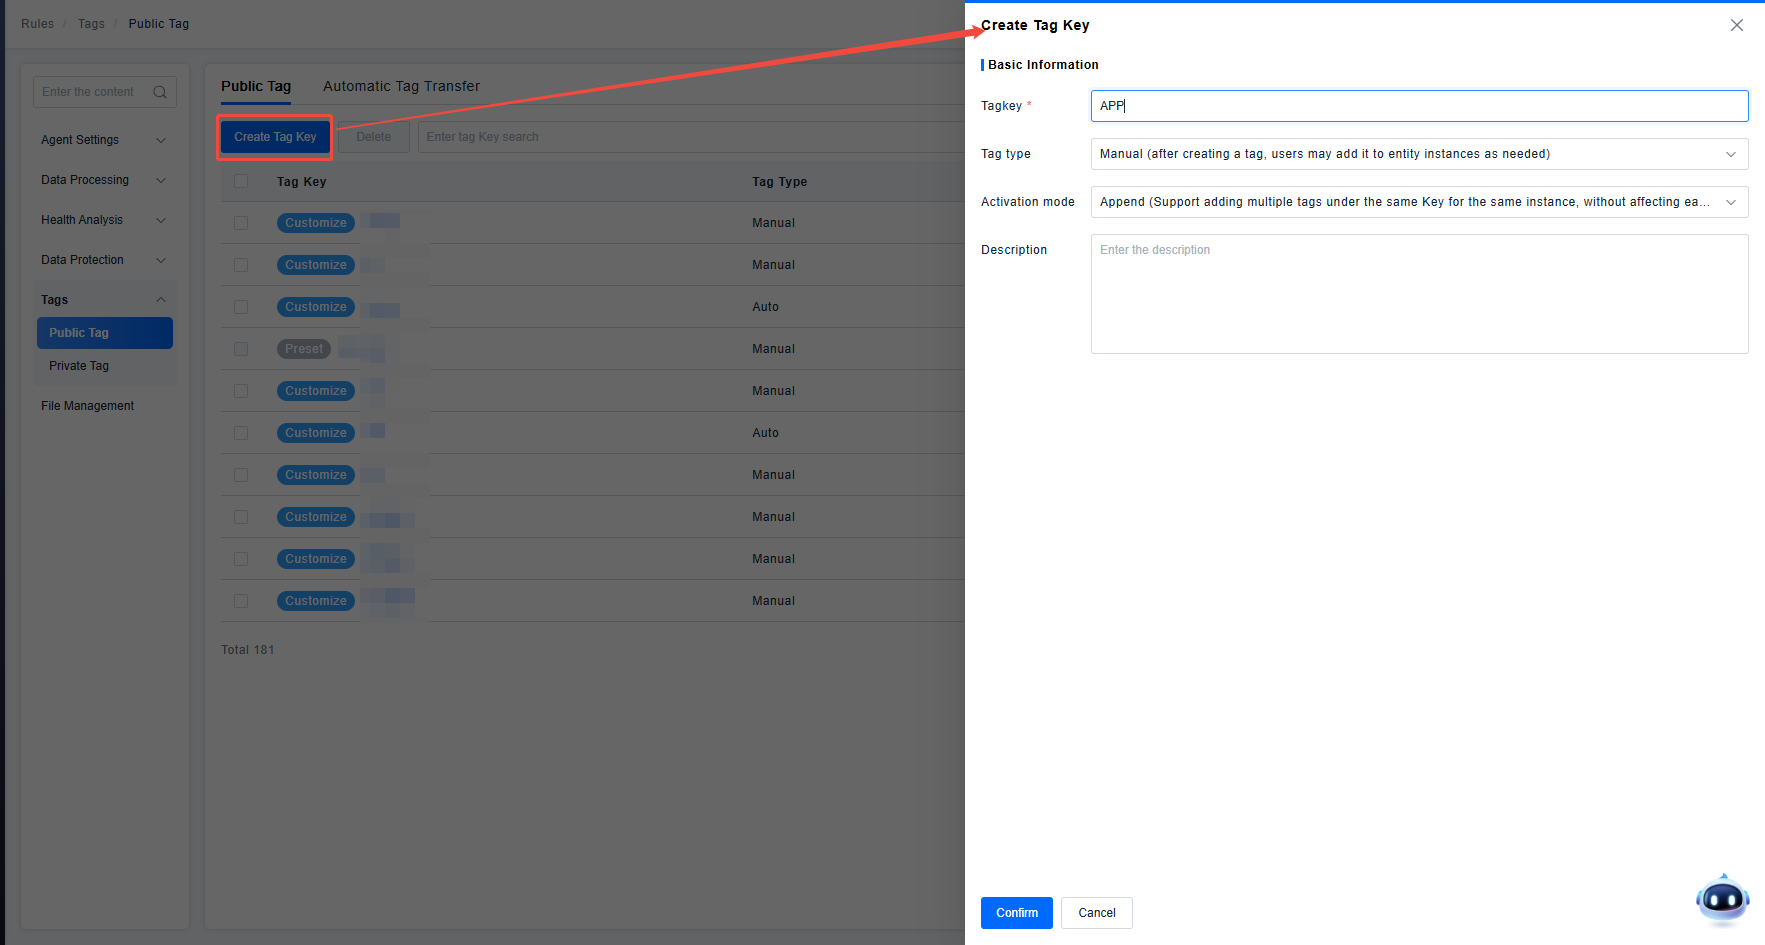
Create a shared tag key for controlling application permissions (only shared tags can be used for permission control on the platform).
Click on the key to enter the tag management page under this key. Create a tag for permission control and add this tag to the application Demo_Android.
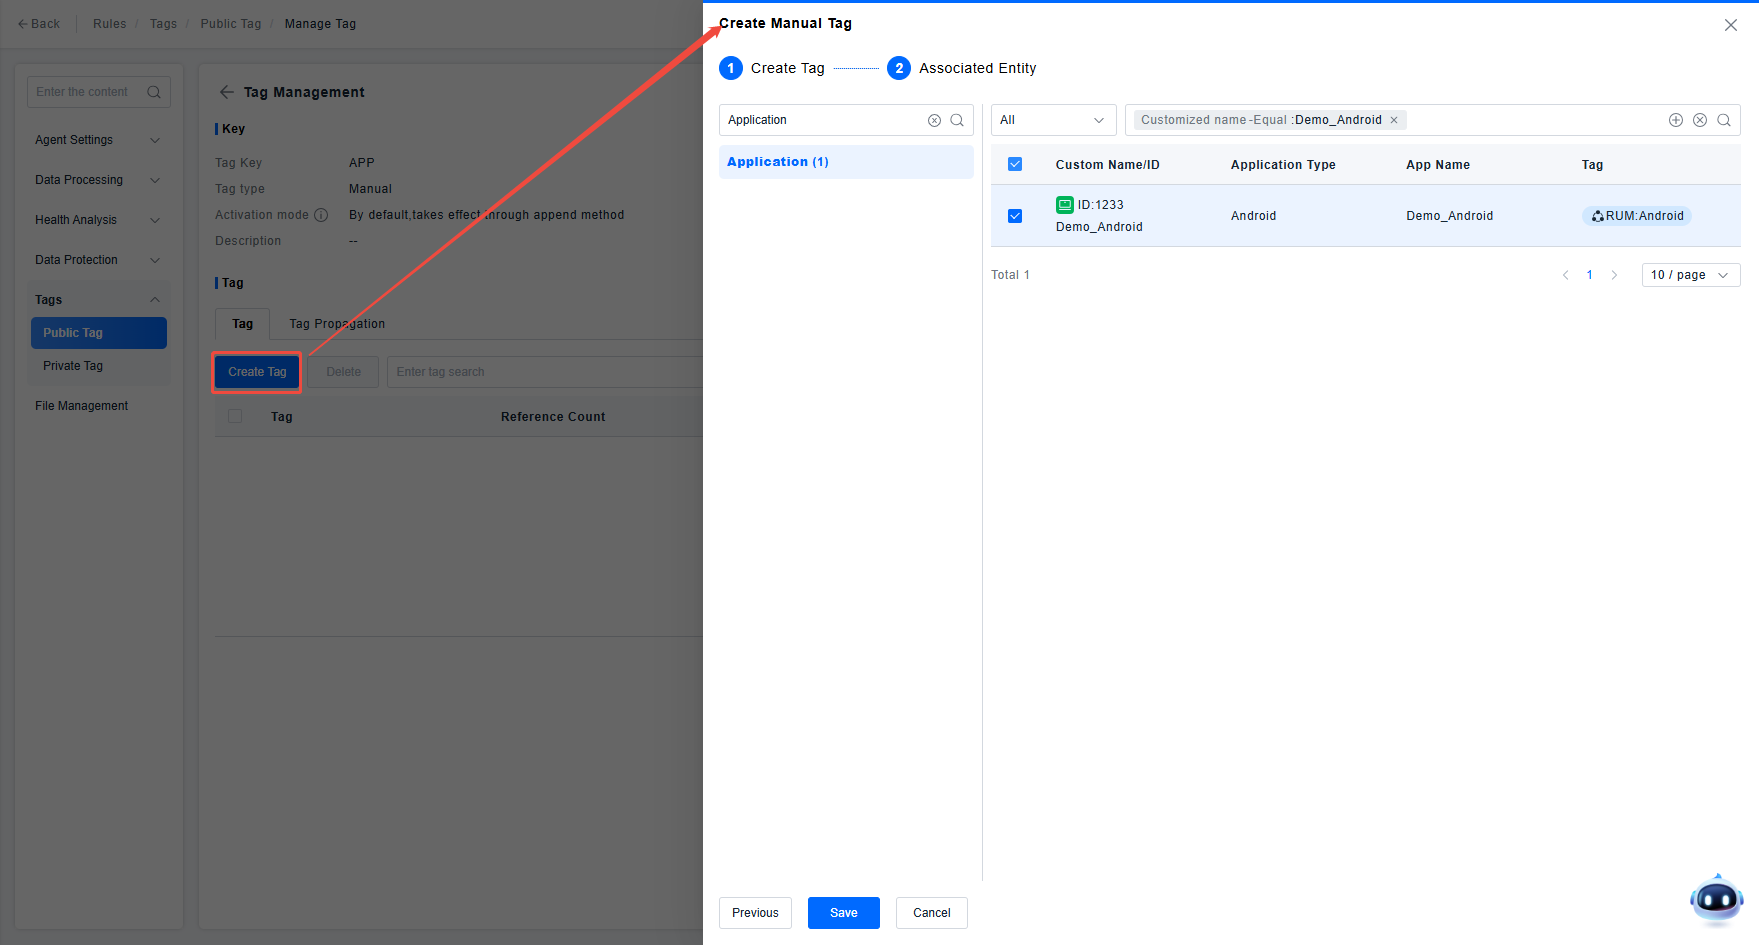
Check the tag application status to ensure the application is associated with this tag, avoiding permission issues later due to tag association problems.

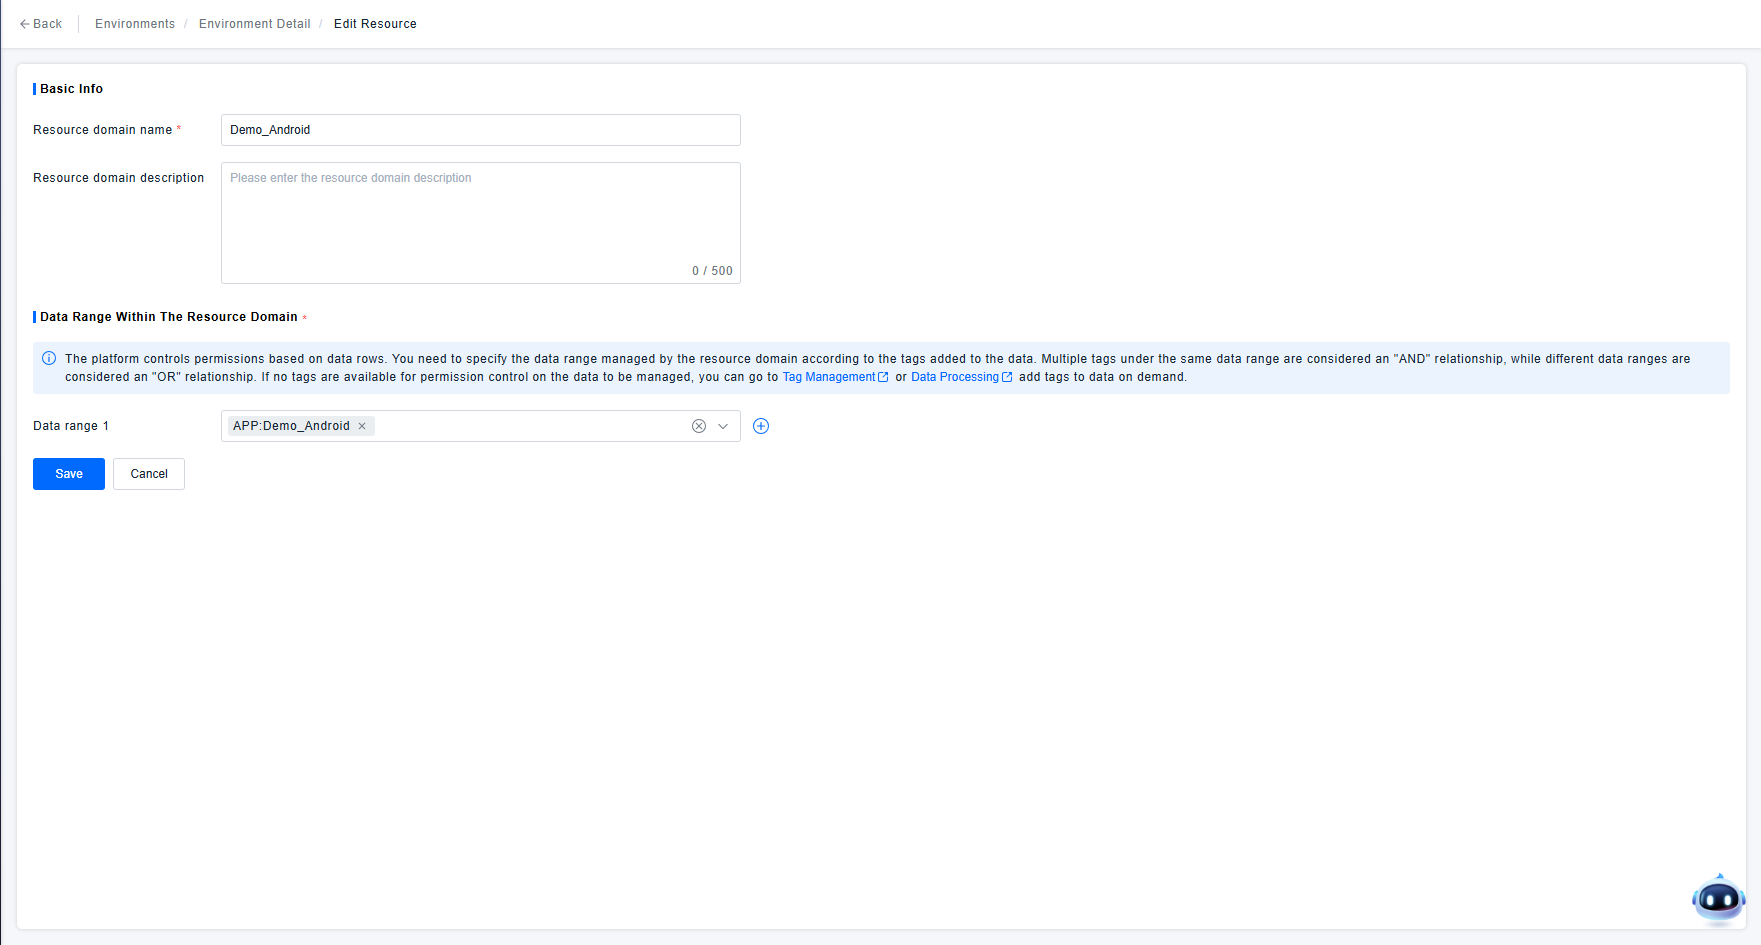
Step 2: Create Resource Domain
Go to the Environment & Resource Domain page and configure a Resource Domain in the environment where user data is written. Use the permission control tag created in Step 1 to create a Resource Domain that only has permissions for the tag "APP:Demo_Android", as required by the demonstration scenario.
Step 3: Create Role
Go to the Access Control page and create a Role. According to the demonstration scenario requirements, where the user needs RUM function permissions and menu permissions for the Data Experience and Observability Insights modules, check the permissions the role needs to possess.

Step 4: Authorize the User
Go to the Access Control page, search for and find the user doc-test. If the user has not been created, you need to create the user first.
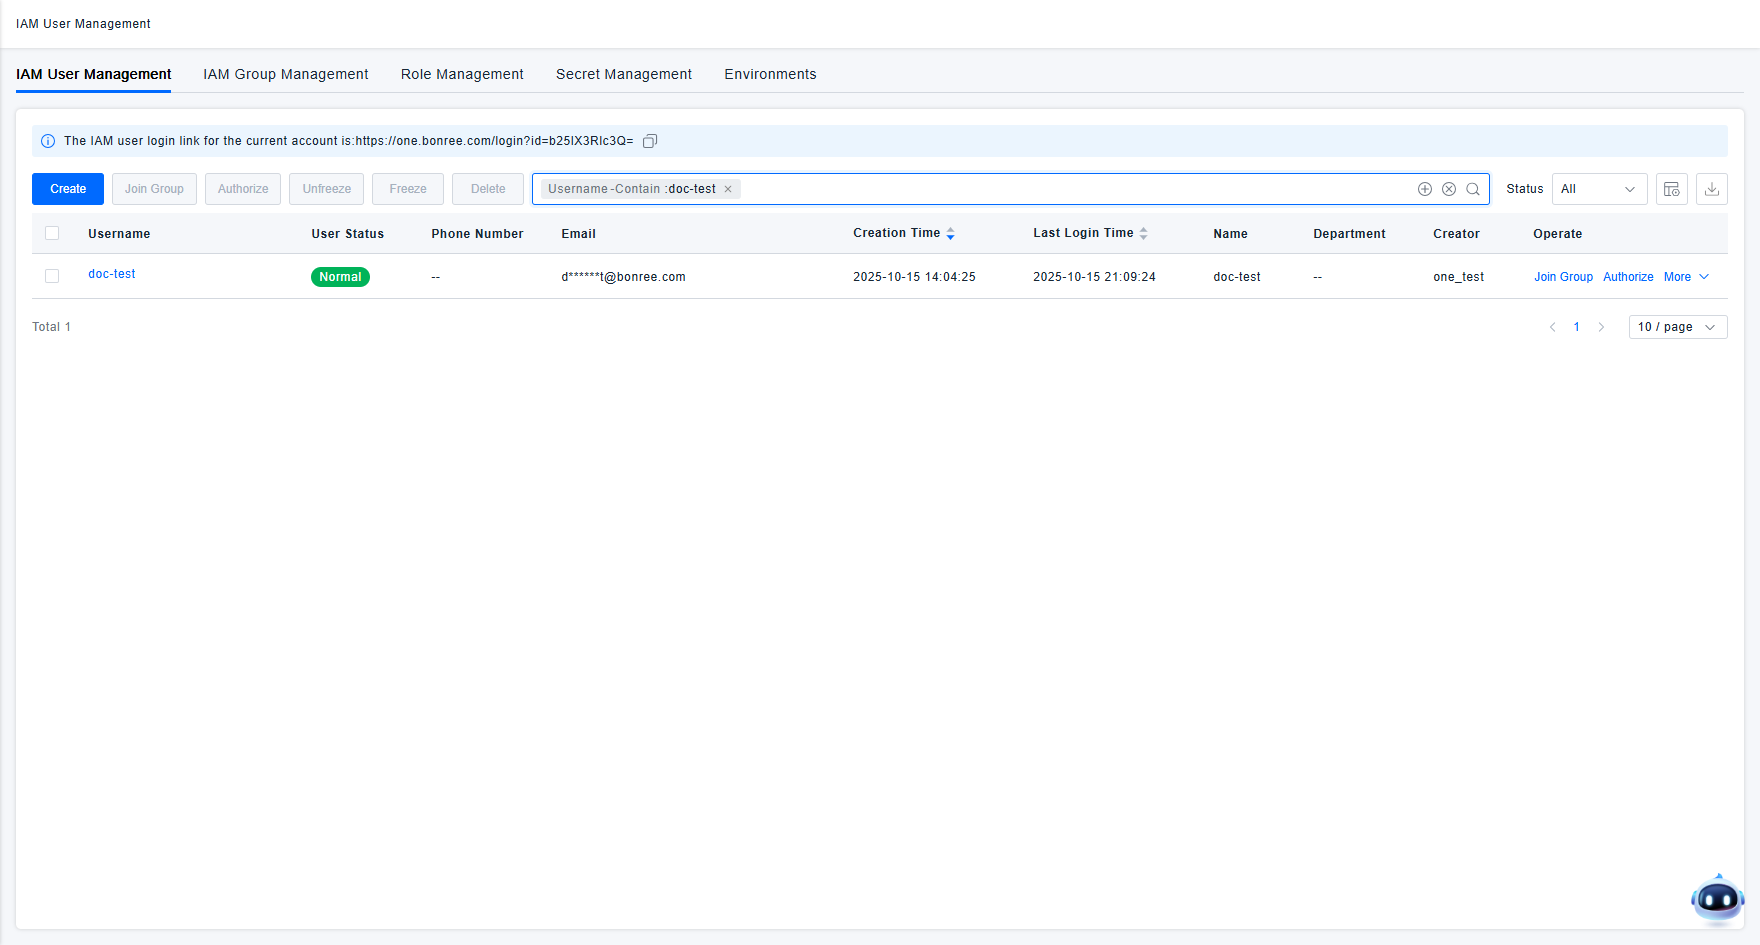
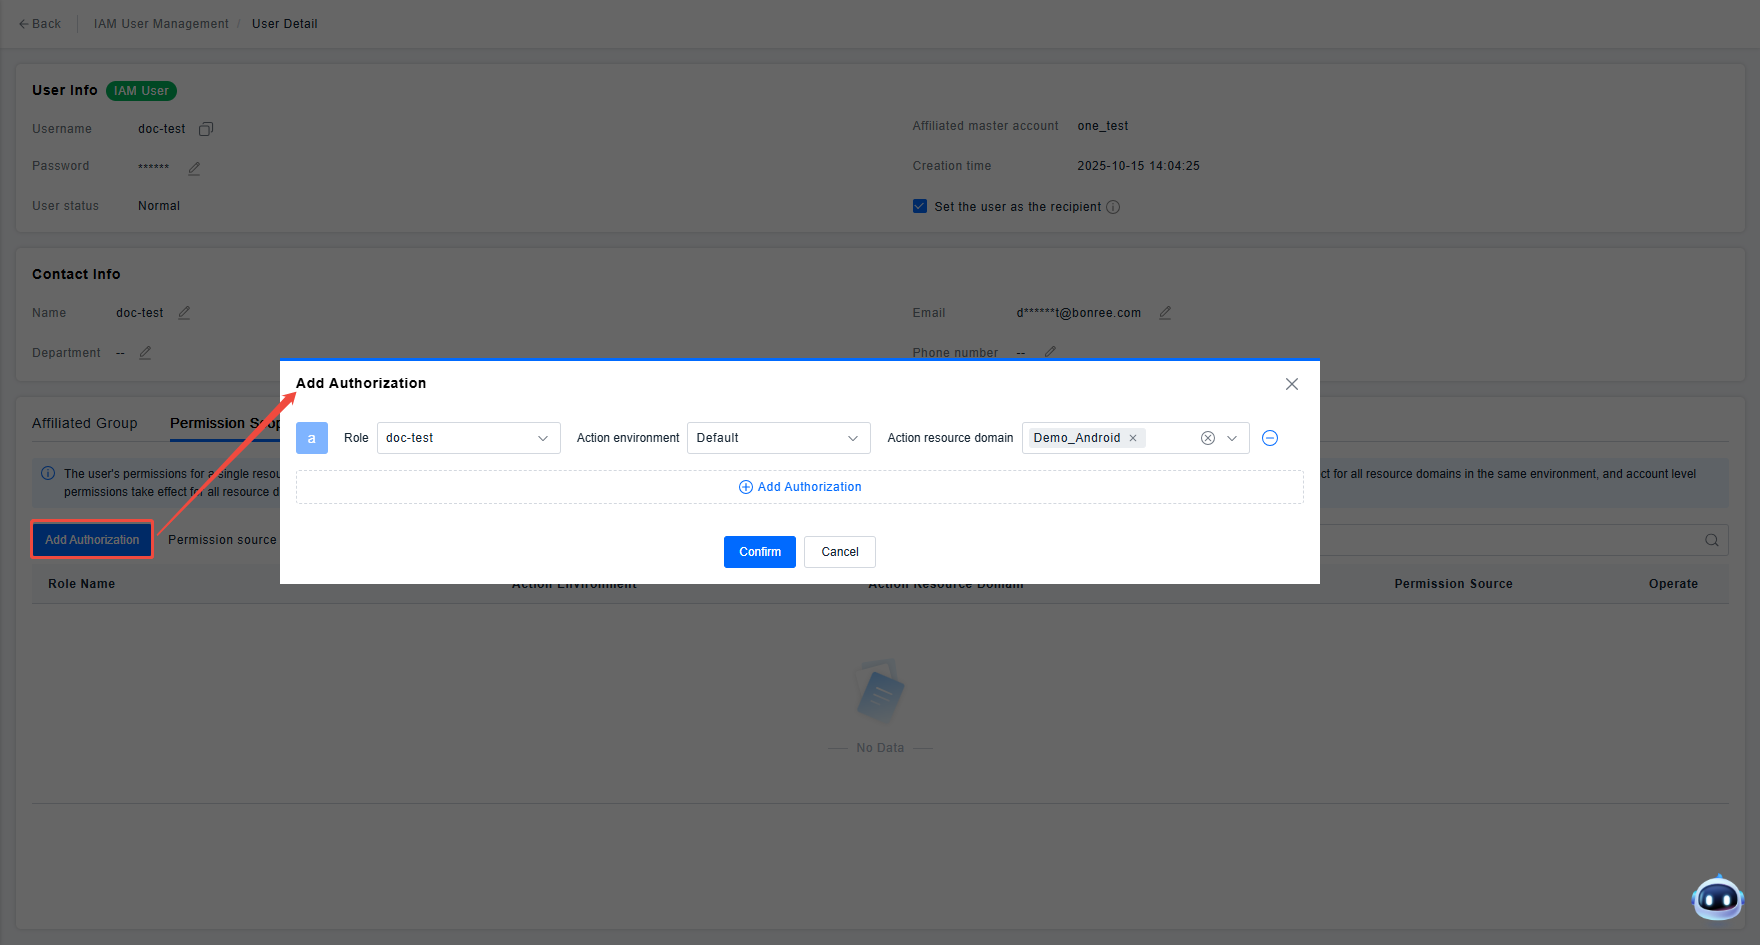
Add authorization for the user, associating the previously created Role and Resource Domain with the user.
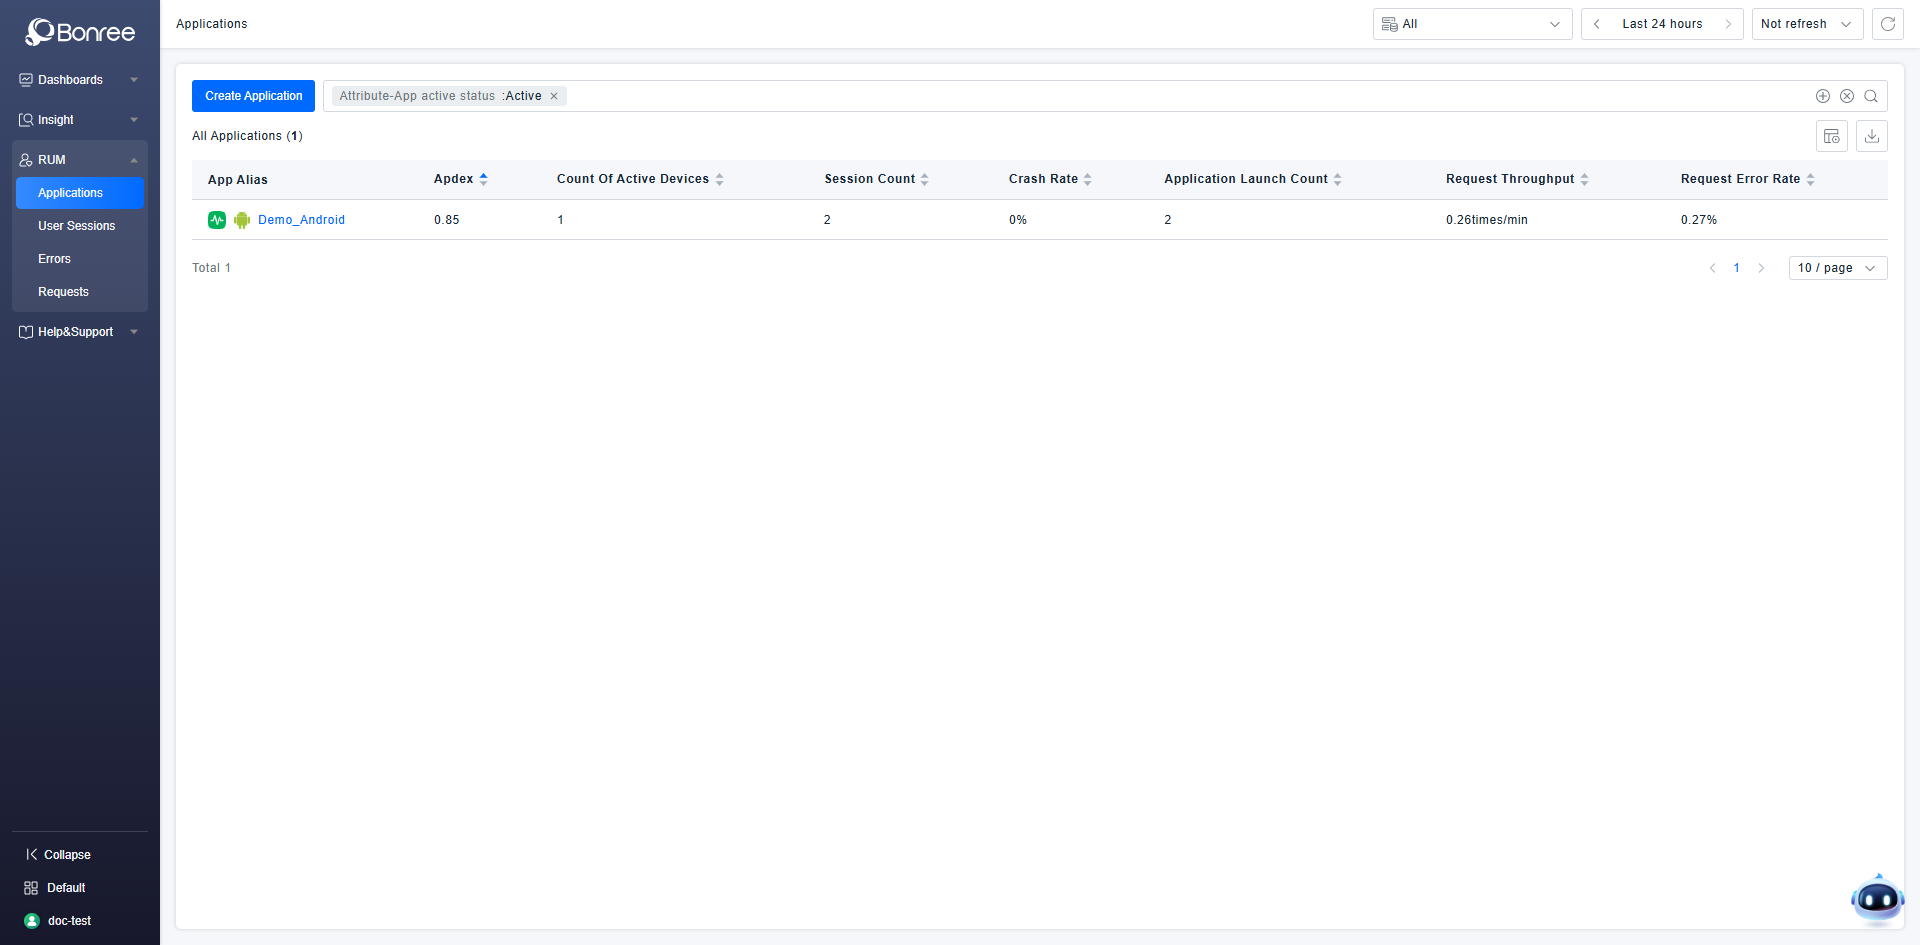
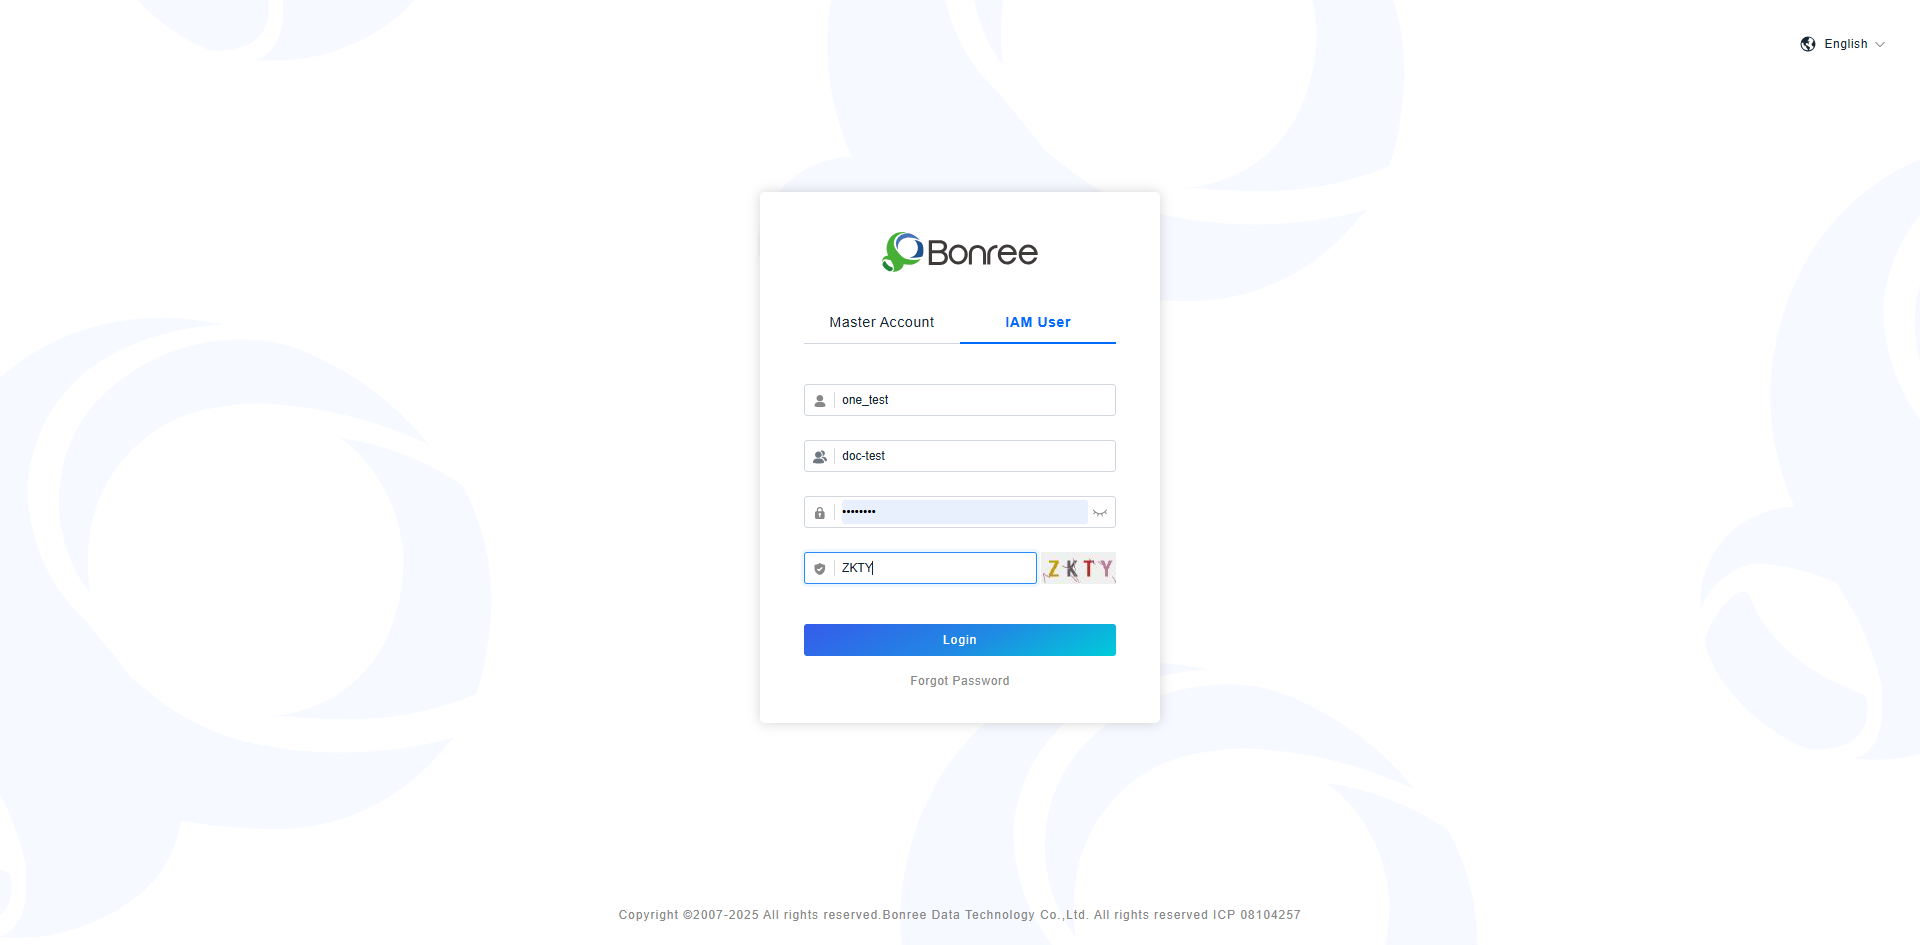
Sub-user doc-test logs in to verify that permissions are effective.
The figure below shows the result of the effective permissions: the user can only view and use data of the application they are responsible for in the Data Experience and Observability Insights modules.