Variables
Variables act as placeholders for field values, allowing you to avoid setting fixed filter conditions during configuration. By simply referencing a variable, any element using that variable will update and reflect the new value when the variable value changes. Variables are displayed as dropdown lists (or text fields in some cases) at the top of the dashboard. These dropdowns make it easy to update variable values, thereby changing the data displayed in the dashboard, significantly simplifying dashboard configuration and maintenance.
Scenario Description
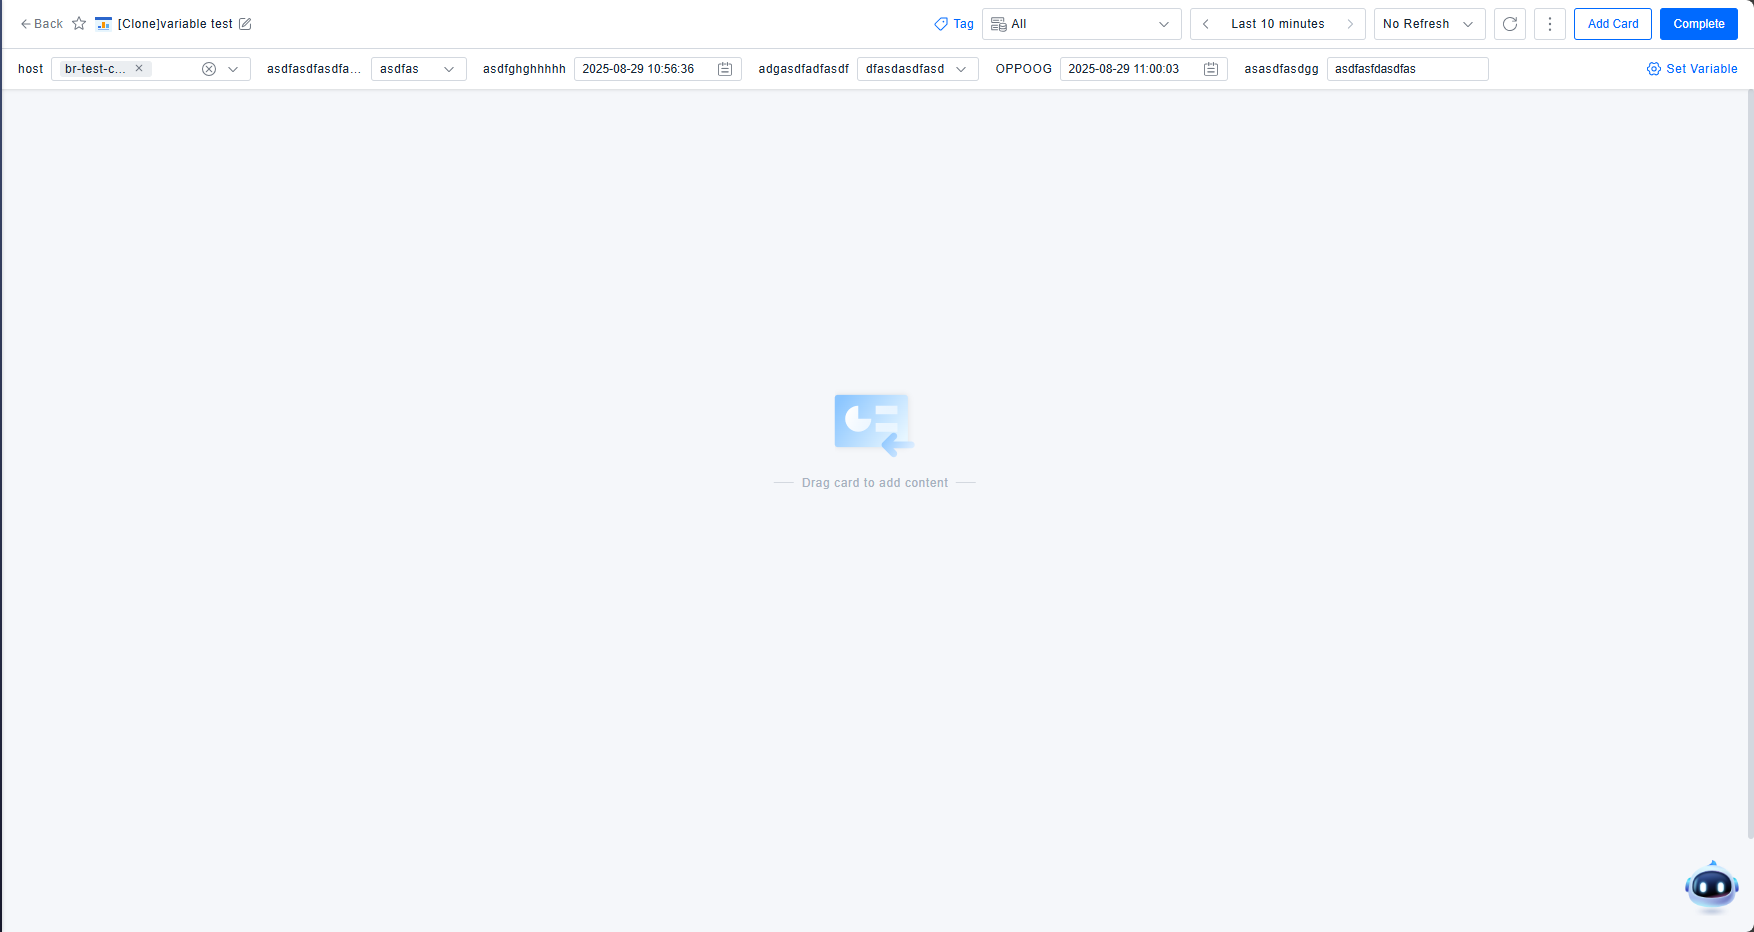
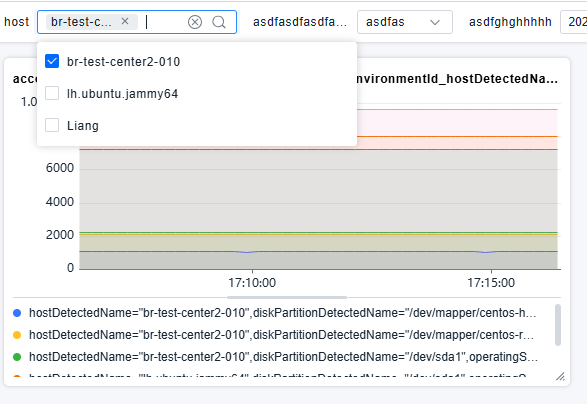
In operational monitoring, it's often necessary to monitor multiple hosts. You could configure a separate dashboard for each host. Alternatively, you can create a single dashboard and use panels with variables, allowing you to change the host using a variable selector, like this:
Get Started
The table below lists the variable types supported by the dashboard.
| Variable Type | Description |
|---|---|
| Query | Uses the results of a separate query (field values) as variable options, switched via dropdown. |
| Custom | Uses custom input strings as variable options, switched via dropdown. |
| Text | Uses custom input content directly as the variable value. |
| Time | Uses a specific point in time as the variable value. |
| Interval | Switches the query time granularity; can only be used in PromQL queries. |
Variable Settings
- Enter the dashboard Edit mode.
- Click Settings Variables to access the variable list.
- Click Create Variable.
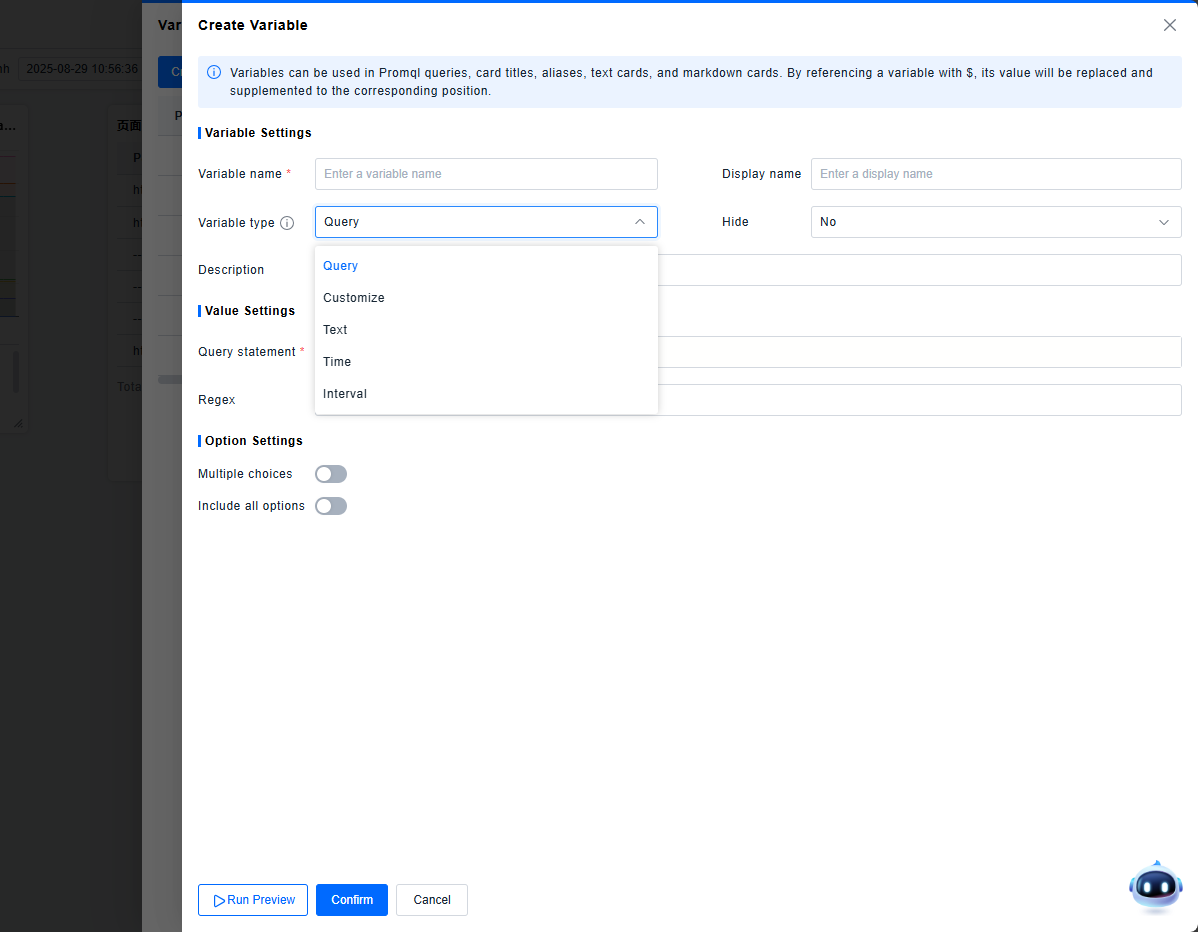
- Enter a Variable Name. This name will be referenced wherever the variable is used. Only English characters are allowed.
- (Optional) Enter a Display Name. This will be shown at the top of the dashboard instead of the variable name.
- Select the Variable Type, which includes the following five options:
- Configure the Hide setting:
- None: Do not hide the variable.
- Label: Hide the variable's label/name, only showing the selection box.
- Variable: Hide the entire variable component.
- (Optional) Add a Variable Description.
Adding a Query Variable
Query variables retrieve values like metric names, metric values, or dimension values using PromQL queries and optional regex processing.
- Select the Query type variable.
- Select any one of the query methods: selector query, dimension query, or PromQL query.
- Selector Query: You can select metrics, entities, events, records, or logs for data querying. The query result will be used as the variable value.
- Dimension Query: You can select metric dimensions, entity attributes, event attributes, record attributes, or log attributes for data querying.
- PromQL Query: Enter a PromQL query statement. Functions such as
label_valuesandlabel_namescan be used to assist the query. (Optional) Input a regular expression statement to process the results returned by the PromQL query.
- (Optional) Configure Option Settings:
- Multi-value: Enable selecting multiple variable options simultaneously.
- Include all option: Enable an "All" option that includes all possible variable values.
- Selector queries do not support option configuration.
- Click Run Preview. Check the Value Preview section to see all values for the current variable and ensure they meet expectations.
- Click OK to save the current variable.
Adding a Custom Variable
Use Custom variables for data that doesn't change, such as specific fixed numbers or strings.
- Select the Custom type variable.
- Click Custom Options, and enter the desired values in the pop-up window.
- (Optional) Configure Option Settings:
- Multi-value: Enable selecting multiple variable options.
- Include all option: Enable an "All" option.
- Click Run Preview. Check the Value Preview section to ensure the values are correct.
- Click OK to save the current variable.
Adding a Text Variable
Text variables are the most flexible, allowing any input to be used as the variable value.
- Select the Text type variable.
- (Optional) Set a Default Value. If left empty, an empty text box will be displayed for user input.
- Click Run Preview. Check the Value Preview section (will typically show the default or is static).
- Click OK to save the current variable.
Adding a Time Variable
Time variables provide specific timestamps for adjusting time-related information in queries.
- Select the Time type variable.
- Set a Default Value (defaults to the current time).
- Click Run Preview. Check the Value Preview section.
- Click OK to save the current variable.
Adding an Interval Variable
Interval variables are commonly used in PromQL statements to control the time range ([?s]) for range vectors or step resolution.
- Select the Interval type variable.
- Default options like
1m,10m,30m,1h,6h,12h,1d,7d,14d,30dare provided. Click Custom Options to add custom intervals. - (Optional) Enable the Auto Option switch to add an
autooption, which automatically calculates a suitable time interval. - Click Run Preview. Check the Value Preview section.
- Click OK to save the current variable.
Variable Display

- Configured variables are displayed fixed at the top of the dashboard and cannot be moved. Each variable is displayed according to its type and configuration.
Using Variables
Reference a variable by prefixing its name with the $ symbol (e.g., $hostname). After configuration is complete, the variable's value will populate the referenced location and take effect.
Variables can be used in the following places:
- PromQL Queries (e.g.,
rate(http_requests_total{job="$service"}[$interval])) - Widget Titles
- Chart Widget Aliases (for series naming)
- Text and Markdown Widgets (for dynamic text content)